This recipe comes to you on the grounds that I really wanted pizza. Originally, I had planned on trying the sauce out on a whole wheat crust and call it a day. But when I saw the spaghetti squash sitting on the kitchen counter, I knew it was finally time to attempt what has been sitting at the bottom of my Pinterest board for so long.
Not gonna lie, this was time consuming, but I had all day so I figured I’d just take my time. Being in the kitchen relaxes me anyway (weird, I know).
Ingredients
for the crust
- 1 medium spaghetti squash
- 1 egg
- salt and pepper to taste
for the sauce
- 15 roma tomatos
- 1 tbsp olive oil
- 3 cloves garlic, minced
- salt and pepper to taste
- basil, chopped
The first thing I did was cook my squash. Preheat the oven to 425, and place the squash on a baking sheet lined with tin foil. Using a knife, i poked a few holes in it for ventilation (no  explosions please!!!) I cooked it for 45 minutes and took it out. After it is cool, slice it open and scoop out the seeds. Take a fork and shred the squash until it looks like pasta.
Next comes the hardest part: wringing it out. Its really important to get as much water out of the squash as possible if you want a crispy pizza! After you’re finished, put the squash aside.
Beat the egg and add it to a large bowl. Toss in the squash and mix until its combined. Spread it out on a baking sheet lined with parchment paper and bake in the oven at 400 degrees for about 20 minutes, or until the edges are crisp and the crust begins to brown.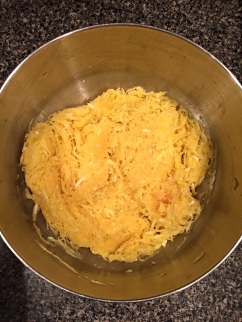

Next up is the sauce! Slice your tomatoes in half and place in a bowl. Add in the olive oil, salt pepper and garlic and toss until well coated. Put the tomatoes on a baking sheet with the cut side up and bake on 350 for about an hour. I checked mine after thirty minutes and then bumped up the heat to 425.
Once they’ve cooled, put them in the food processor with the basil, salt and pepper. Pulse until its at the consistence that you want.
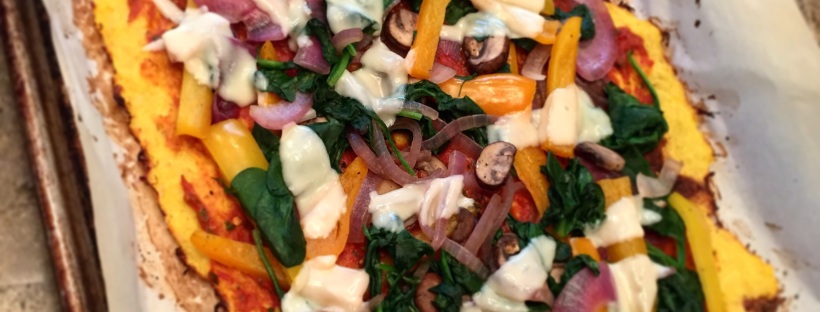
To assemble the pizza, after the crust was done baking, take it out and spread on your sauce. I wanted to add veggies to it, so I
sautéed up some red onion, bell peppers, mushrooms, and spinach. To finish, I topped the pizza with some mozzarella cheese and put the whole thing back in the oven for a few minutes until the cheese was melted.


It came out SO much better than I expected for my first try! I was nervous about how the sauce was going to taste but it was absolutely delicious. I have some left over and you can bet I’m going to use it again! The pizza is a little hard to pick up and eat like an actual pizza so you may have to use a fork. My dad actually suggested next time rolling it up and cutting it like sushi! (he’s always thinking of improvements) Overall, this for sure satisfied my pizza craving and was a healthy way to do it! 


